Why PRDs Matter: A Personal Awakening
Admittedly, writing Product Requirement Documents (PRDs) can be a bit dry, and I’d always find countless reasons to avoid doing it. I’d rather call the developer to discuss the wireframe, make process flow diagrams, or even print out the design and write acceptance criteria on it. However, I recently had an epiphany: PRDs serve me more than anyone else. The revelation reshaped my perspective, and since then, I’ve stopped producing substandard PRDs. The primary purpose of PRDs, as I understand now, is to crystallize my thinking about why, what, and how to build a specific product or feature.
Crafting PRDs: The Tools and Techniques
I’ve settled on Confluence as my go-to tool for crafting PRDs, making good use of its default “Product Request” template with a few custom tweaks. Here’s a step-by-step guide on my PRD development process.
1. Goal Setting: One Objective at a Time
The first step is to pinpoint a single core goal for your product or feature. While there may be multiple aims, choose the most critical one. It will streamline your focus and avoid any confusion in tracking your progress.
2. Understanding Success Metrics
The adage, “You can’t improve what you can’t measure,” holds. Once a goal is set, it’s crucial to identify appropriate metrics for evaluating the project’s success. For instance, if you’re building an “order detail page” to enhance customer experience, identify metrics such as the number of issues per 100 orders, changes in CSAT score, etc.
3. Walk a Mile in Your Customer’s Shoes
Empathy is essential in product management. Before writing the PRD, engage with your customers or potential customers who have experienced your product. Chart the user journey by asking essential questions like how users discovered the feature/product, whether customer feedback validates the problem you’re trying to solve, how users will interact with the new features, and how competitors address this issue.
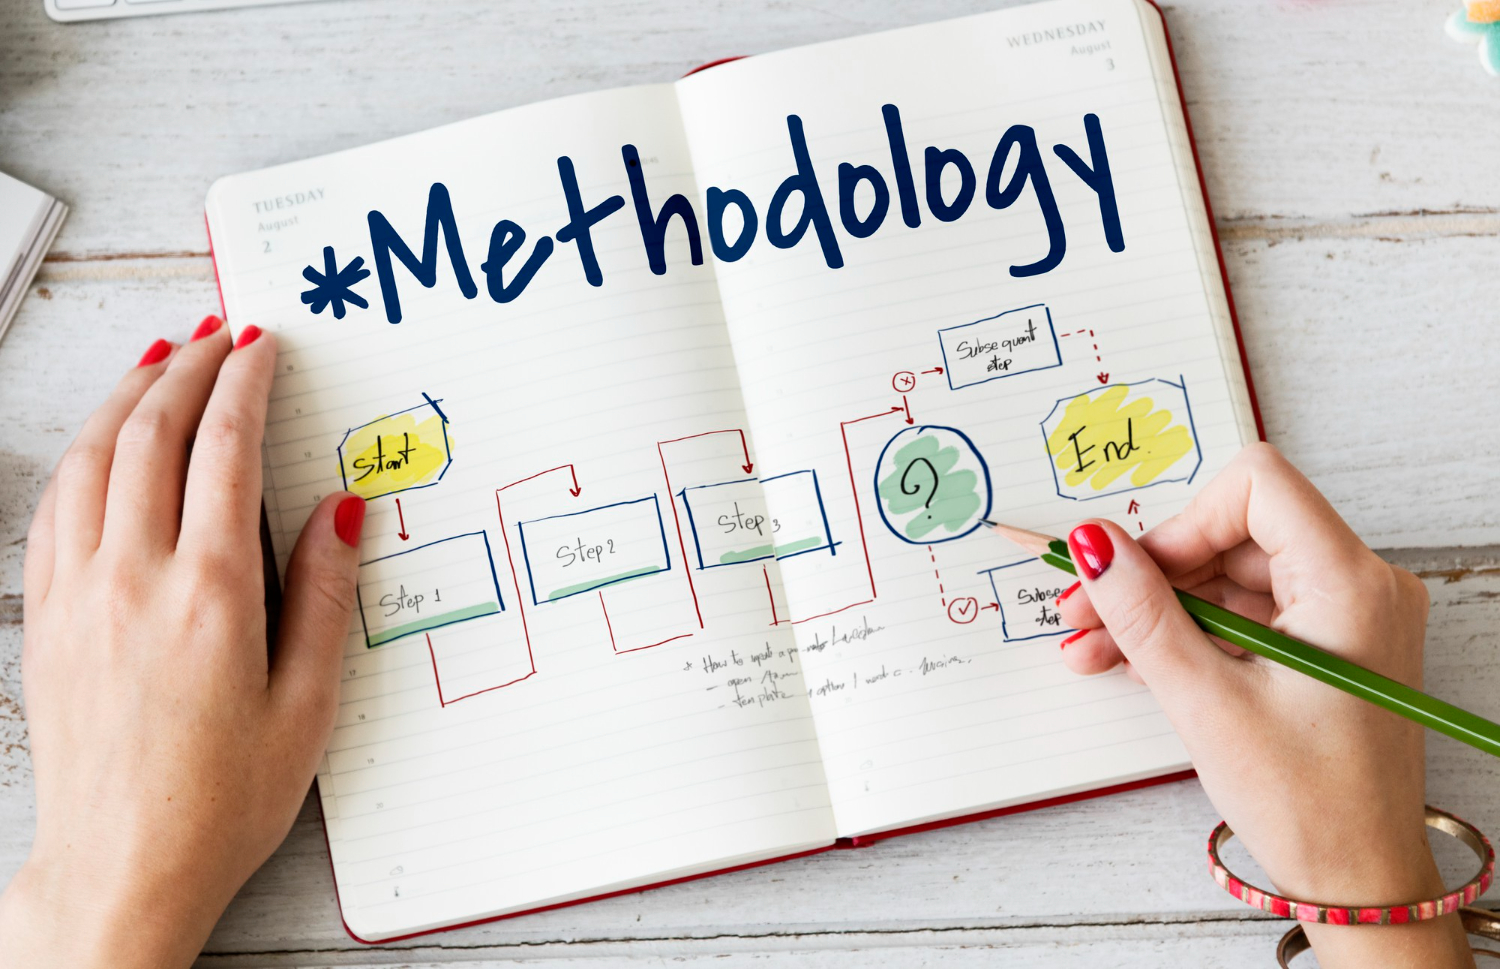
4. Mapping Out User Flows
Once you have a solid understanding of the user journey, it’s time to map out the process flows. I prefer to use Draw.io, but other tools like Miro and Whimsical can serve the same purpose. After creating the process flow, write down each user story in detail to capture every possible use case.
5. Ensuring the Product Meets User Expectations
With user stories in place, define Acceptance Criteria (AC) – the conditions that the product must meet for user acceptance. These criteria help describe the functional behavior from the user’s perspective, outline the feature boundaries, and detail how the system should react in various scenarios.
6. Visualizing Your Ideas: Wireframing
A wireframe serves as a skeleton of a web page, showing what interface elements will exist. I usually use tools like Balsamiq and Whimsical, but even a simple drawing sheet can suffice. The key is to ensure the wireframe effectively communicates your ideas.
7. Translating Design into Code
After all these steps, it’s time to collaborate with the UX/UI designer and walk them through the complete PRD. The design should align with the overall product theme, avoid overwhelming the user with too many options, be responsive across various devices, and cover all use cases.
While writing a comprehensive PRD might seem daunting initially, it is an indispensable skill that sets you apart in the field of product management. Remember, the PRD is not a mundane document but a tool that facilitates your understanding and communication of the product you’re envisioning.